
The Englund Gambit trap: checkmate in eight with Qc1#
In the Englund Gambit (1.d4 e5) the natural 6.Bc3? loses to 6…Bb4!! and 8…Qc1#. The trap move by move, why it works and how White avoids it.
6 min readBy Hasan Süzen
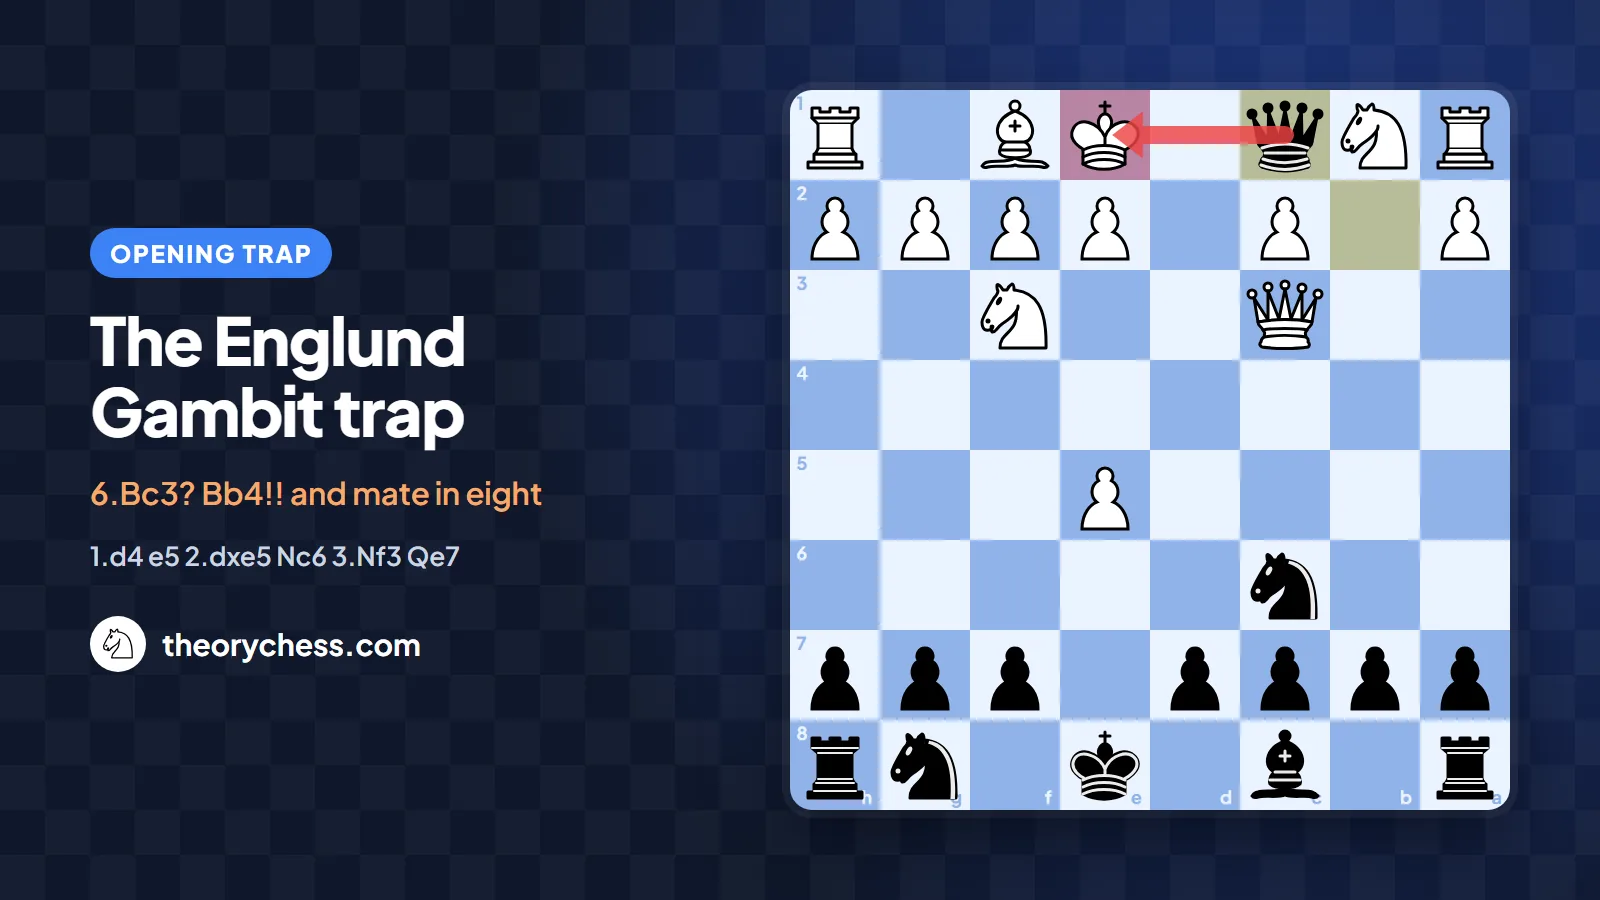
The Englund Gambit trap is the most famous trick in 1.d4 e5: White is checkmated in just eight moves, on the queenside where nothing has been developed yet. It rests on one perfectly natural-looking move, which is why it still catches club players regularly, especially in blitz and bullet. Here is the trap move by move, why it works, and how to avoid it as White.
What is the Englund Gambit?
The Englund Gambit starts with 1.d4 e5. Black gives up a pawn on move one and, after 2.dxe5, counts on quick development and tricks to win it back. Objectively it is not a sound opening: a well-prepared White player gets a comfortable edge. But most 1.d4 players have never prepared for it, and that is the whole appeal for Black.
The main line runs 2.dxe5 Nc6 3.Nf3 Qe7. Black attacks the e5-pawn twice, with knight and queen. Bringing the queen to e7 this early looks odd, but as we will see, it is ready to jump to b4.
The trap move by move
4.Bf4: holding the pawn
White’s most natural reply is 4.Bf4, developing a piece and defending e5. So far, so good. Black answers with 4…Qb4+, and this queen move does three jobs at once: it checks the king on e1, attacks the b2-pawn and, along the fourth rank, hits the bishop on f4.
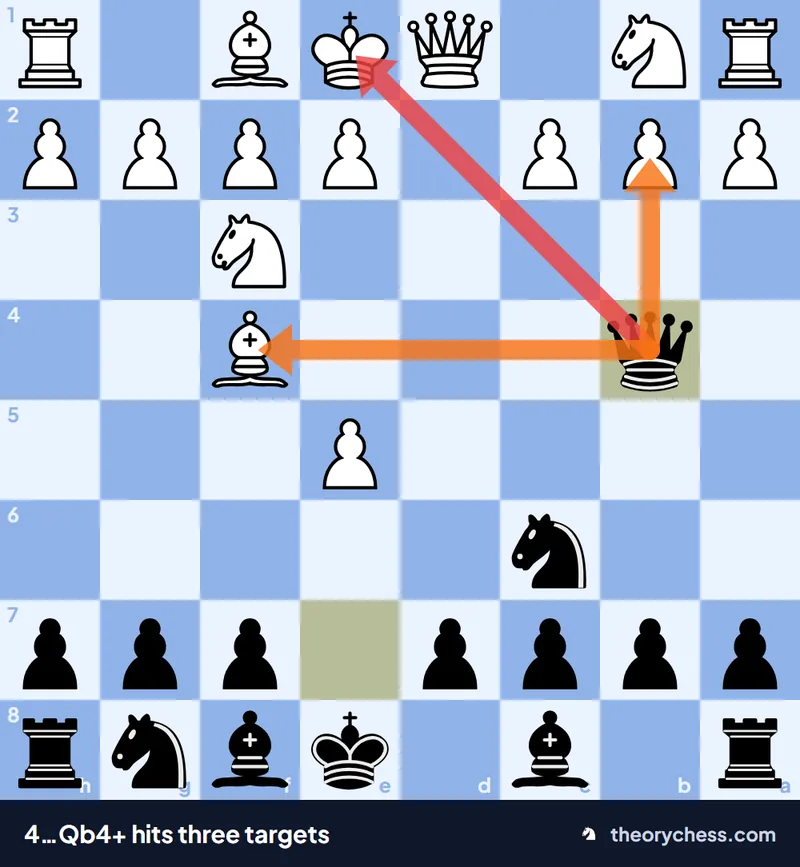
After 4…Qb4+ the queen eyes the king on e1, the pawn on b2 and the bishop on f4.
5.Bd2 Qxb2
White blocks with 5.Bd2, which deals with the check and rescues the bishop. Black carries on with 5…Qxb2, and material is level again. Now the rook on a1 is under attack, and White’s next move decides the game.
6.Bc3? and 6…Bb4!!
6.Bc3? looks very sensible: the bishop attacks the queen and, once she leaves, it guards a1. It seems Black has to retreat. Instead, Black ignores the threat completely: 6…Bb4!!
The point is a pin. When the bishop went from d2 to c3, the b4–e1 diagonal opened up, so the black bishop now pins the c3-bishop to the white king. That makes 7.Bxb2 illegal. Far from winning the queen, White now has to defend the pinned bishop.
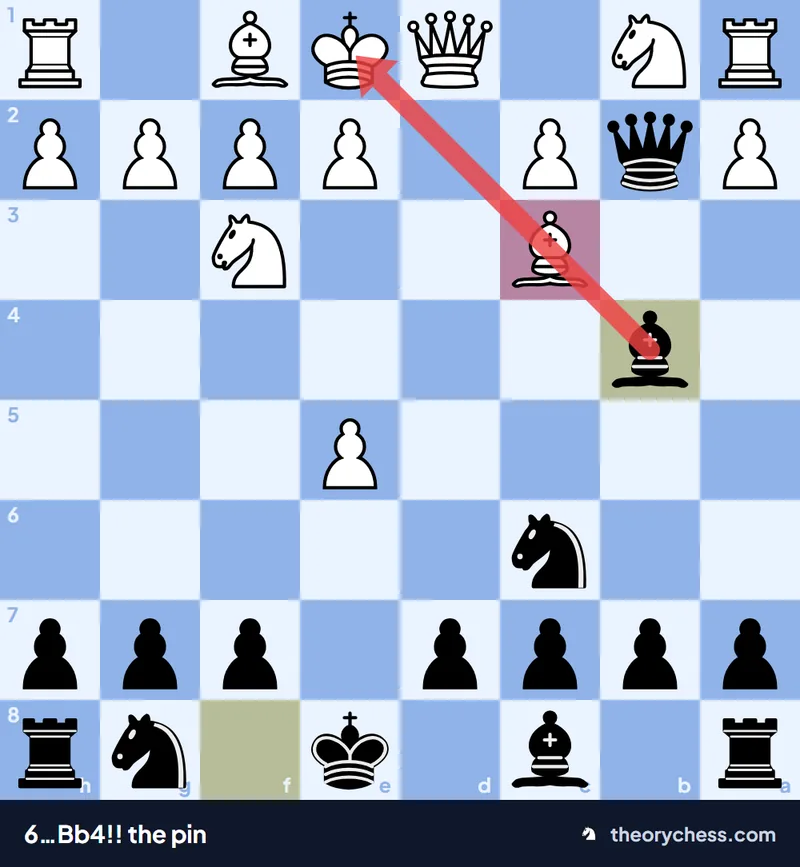
6…Bb4!! pins the c3-bishop to the king, so 7.Bxb2 is no longer possible.
7.Qd2 Bxc3 8.Qxc3 Qc1#
The natural defence is 7.Qd2, protecting c3. Black swaps with 7…Bxc3 and White recaptures 8.Qxc3. But the queen has now left the first rank and nothing guards c1: 8…Qc1#. The white king has no escape. The queen on c1 covers d1 and d2, while e2, f1 and f2 are blocked by White’s own pieces.
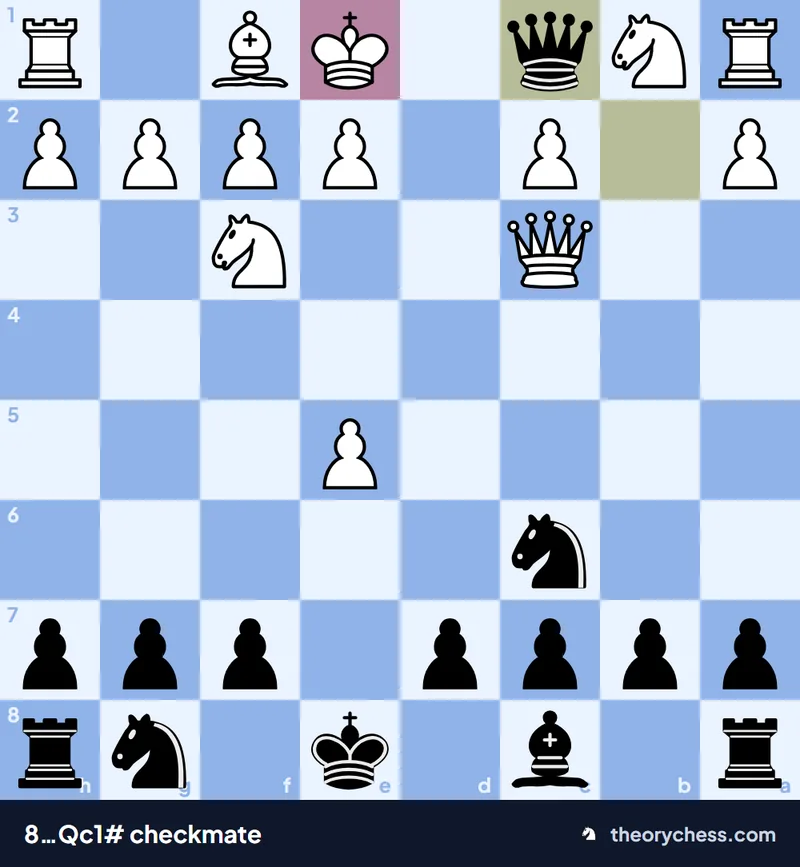
8…Qc1#: the knight on b1 and the rook on a1 never moved.
The whole sequence: 1.d4 e5 2.dxe5 Nc6 3.Nf3 Qe7 4.Bf4 Qb4+ 5.Bd2 Qxb2 6.Bc3? Bb4!! 7.Qd2 Bxc3 8.Qxc3 Qc1#.
The trap at a glance
| Move | What happens | Lesson |
|---|---|---|
| 4…Qb4+ | The queen checks and hits b2 and f4 too. | Watch for forks when the queen comes out early. |
| 5…Qxb2 | Black regains the pawn; the a1-rook is attacked. | b2 is the weak point of an undeveloped queenside. |
| 6.Bc3? | The bishop hits the queen but opens the b4–e1 diagonal. | Before moving a piece, check what it stops guarding. |
| 6…Bb4!! | The c3-bishop is pinned to the king. | Answer a threat with a bigger threat. |
| 8…Qc1# | The back rank has no defenders left. | Keep pieces near your king until it is safe. |
Why the trap works
- The pin is easy to miss: when playing 6.Bc3, White only thinks about attacking the queen and does not notice that d2 has been vacated and the b4–e1 diagonal opened.
- Meeting a threat with a bigger threat: rather than saving the queen, Black finds something stronger. It is a recurring lesson in opening tactics: before moving an attacked piece, check whether you have a bigger threat of your own.
- The undeveloped queenside: the knight on b1 and the rook on a1 have not moved, so the king has no defenders and the back rank is wide open to a mating net.
The same theme, pinning a piece and then piling up on it, appears in many openings. We collected the classic examples in opening traps every club player should know.
The right move for White: 6.Nc3!
After 5…Qxb2, White’s best move is 6.Nc3! The knight develops, clears b1 so the queen on d1 protects the rook on a1, and covers c3 solidly, with the d2-bishop guarding the knight. For example, after 6…Bb4 7.Rb1 Qa3 8.Rb3 the black queen keeps getting chased and loses time. Material is level, but White is far ahead in development and comfortably better.
The general rule against the Englund: don’t forget the b2-pawn and the queenside. Developing the knight to c3 neutralises this trap and most of Black’s other queen raids in a single move.
Should you play the Englund as Black?
The trap is spectacular, but building a repertoire on the Englund Gambit is risky: a prepared opponent gets an advantage with simple moves like 6.Nc3. It works as a surprise weapon in fast games; for serious games, solid defences such as the Queen’s Gambit Declined or the Slav Defence give you a far better foundation against 1.d4. Our guide to the Queen’s Gambit, accepted or declined explains the main ideas.
If you want a sounder gambit against 1.d4, look at the Budapest Gambit or the Albin Countergambit. We cover the Albin’s famous underpromotion trick in our article on the Lasker Trap.
Frequently asked questions
Is the Englund Gambit a good opening?
Objectively, no. Black gives up a pawn without enough compensation against accurate play. Because its traps are so effective, though, it can be a dangerous surprise in blitz and against unprepared opponents.
How many moves does the Englund Gambit trap take?
Black mates on move eight with 8…Qc1#. The key move is 6…Bb4!!, and White’s mistake is 6.Bc3?.
What should White play instead of 6.Bc3?
6.Nc3! is best. The knight develops, the queen protects the a1-rook, and Black’s queen loses time after moves like Rb1.
How can I remember the trap without memorising it?
Remember one check: whenever a black queen or bishop sits on b4, look at the b4–e1 diagonal before moving your d2-bishop. That single habit prevents the whole trap.
Practise it on TheoryChess
Reading a trap and spotting it over the board are two different things. On TheoryChess you can play the lines in the Englund Gambit trainer against Stockfish, with an explanation for every theory move, then test yourself with the Englund Gambit quiz. For a trap down the h-file in the Ruy Lopez, read about the Fishing Pole trap; for a famous knight trick in the Italian, see the Blackburne Shilling trap. Every opening is waiting in the opening catalogue.
Keep reading
· 5 min read
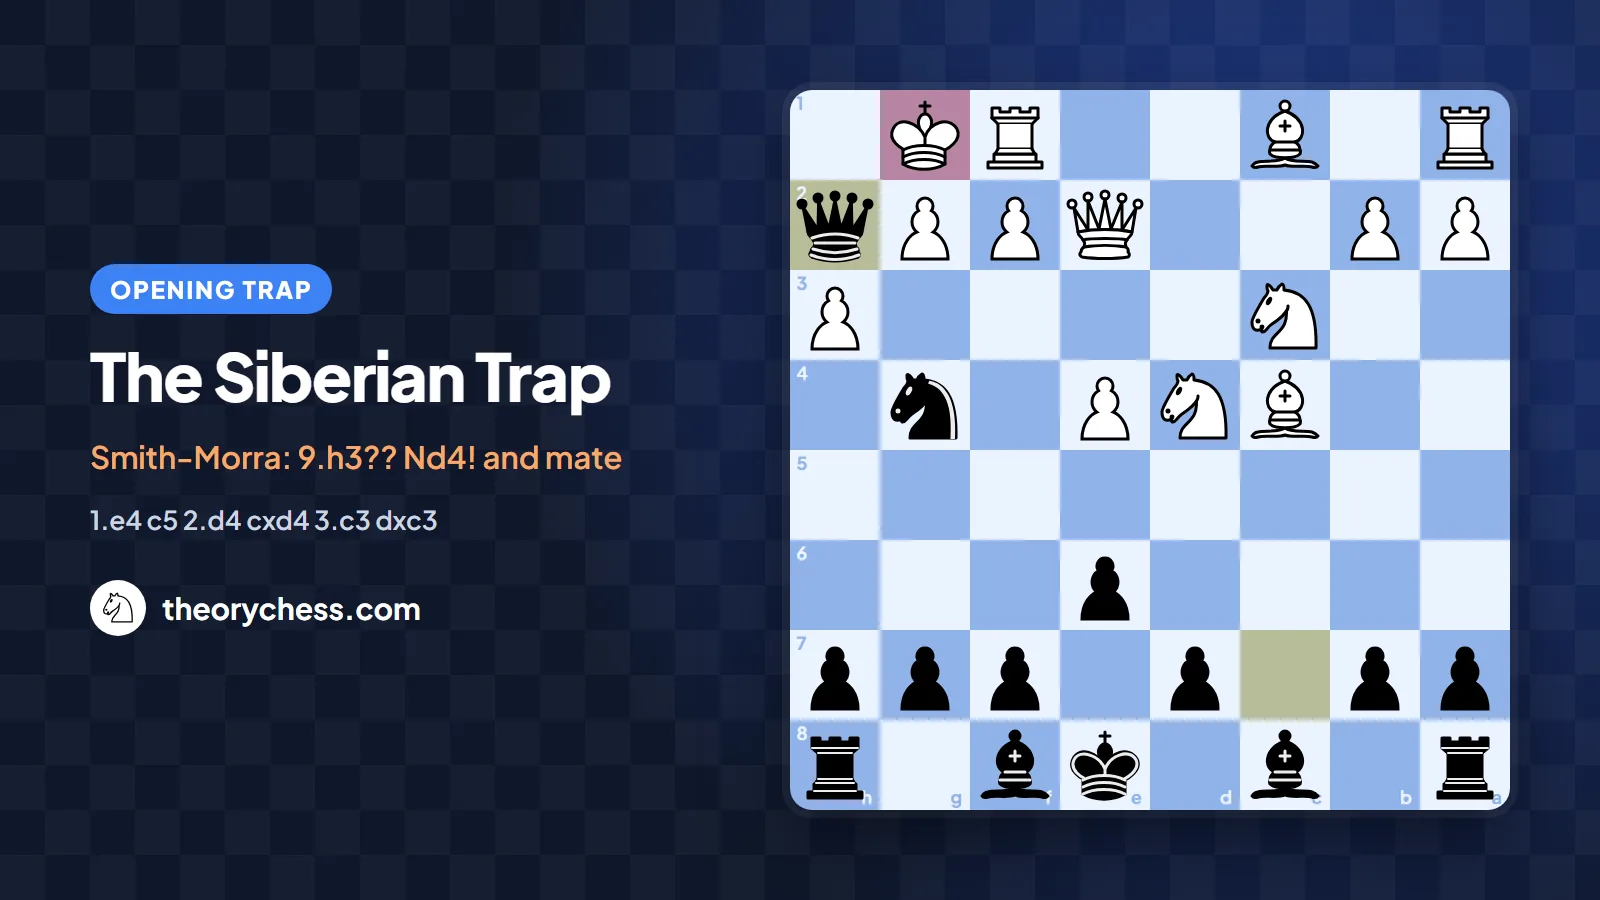
The Siberian Trap: checkmate on h2 in the Smith-Morra GambitThe Siberian Trap in the Smith-Morra: 8…Ng4! 9.h3?? Nd4! and 10…Qh2#. Move by move, why it works and how White avoids it.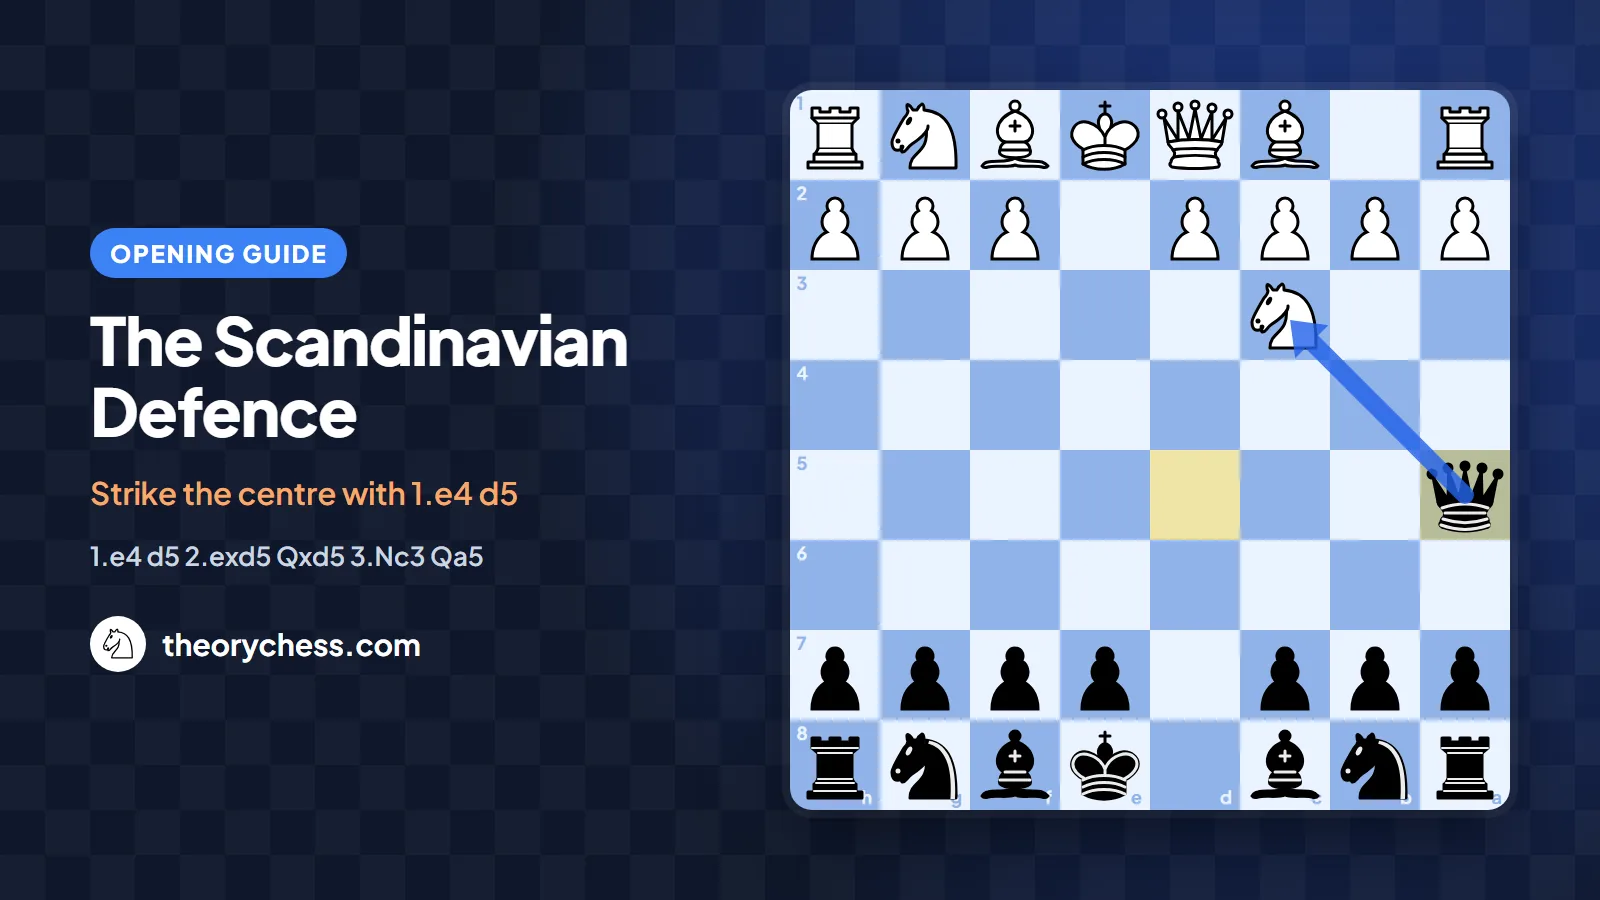
· 5 min read
The Scandinavian Defence: a practical guide to 1.e4 d5The Scandinavian Defence strikes at the centre with 1…d5. Main line 3…Qa5, the alternatives, typical plans and common mistakes.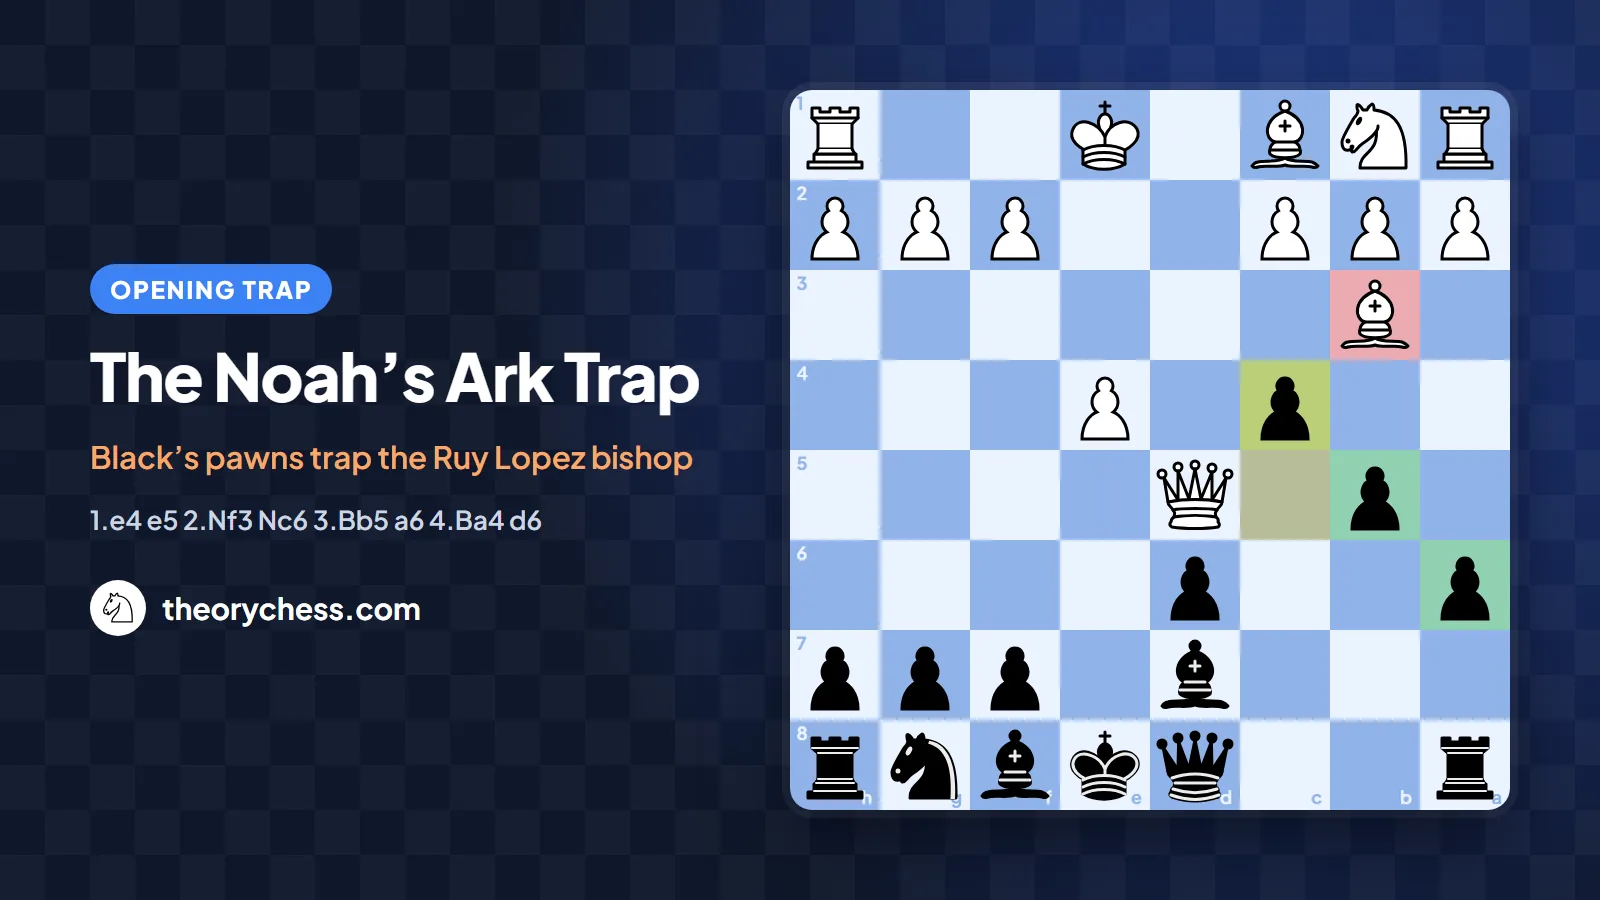
· 6 min read
The Noah’s Ark Trap: how Black traps the bishop in the Ruy LopezThe Noah’s Ark Trap in the Ruy Lopez, move by move: after 8.Qxd4?? c5! and …c4, White’s b3-bishop is trapped by Black’s pawns. How to set it and avoid it.