
The King’s Gambit Declined trap: take this pawn and lose your rook
Declining the King’s Gambit with 2…Bc5 sets a nasty trap: if White plays 3.fxe5??, then 3…Qh4+ 4.g3 Qxe4+ wins the rook on h1, and 4.Ke2 runs into 4…Qxe4# mate. The trap, why it works and the right move.
5 min readBy Hasan Süzen
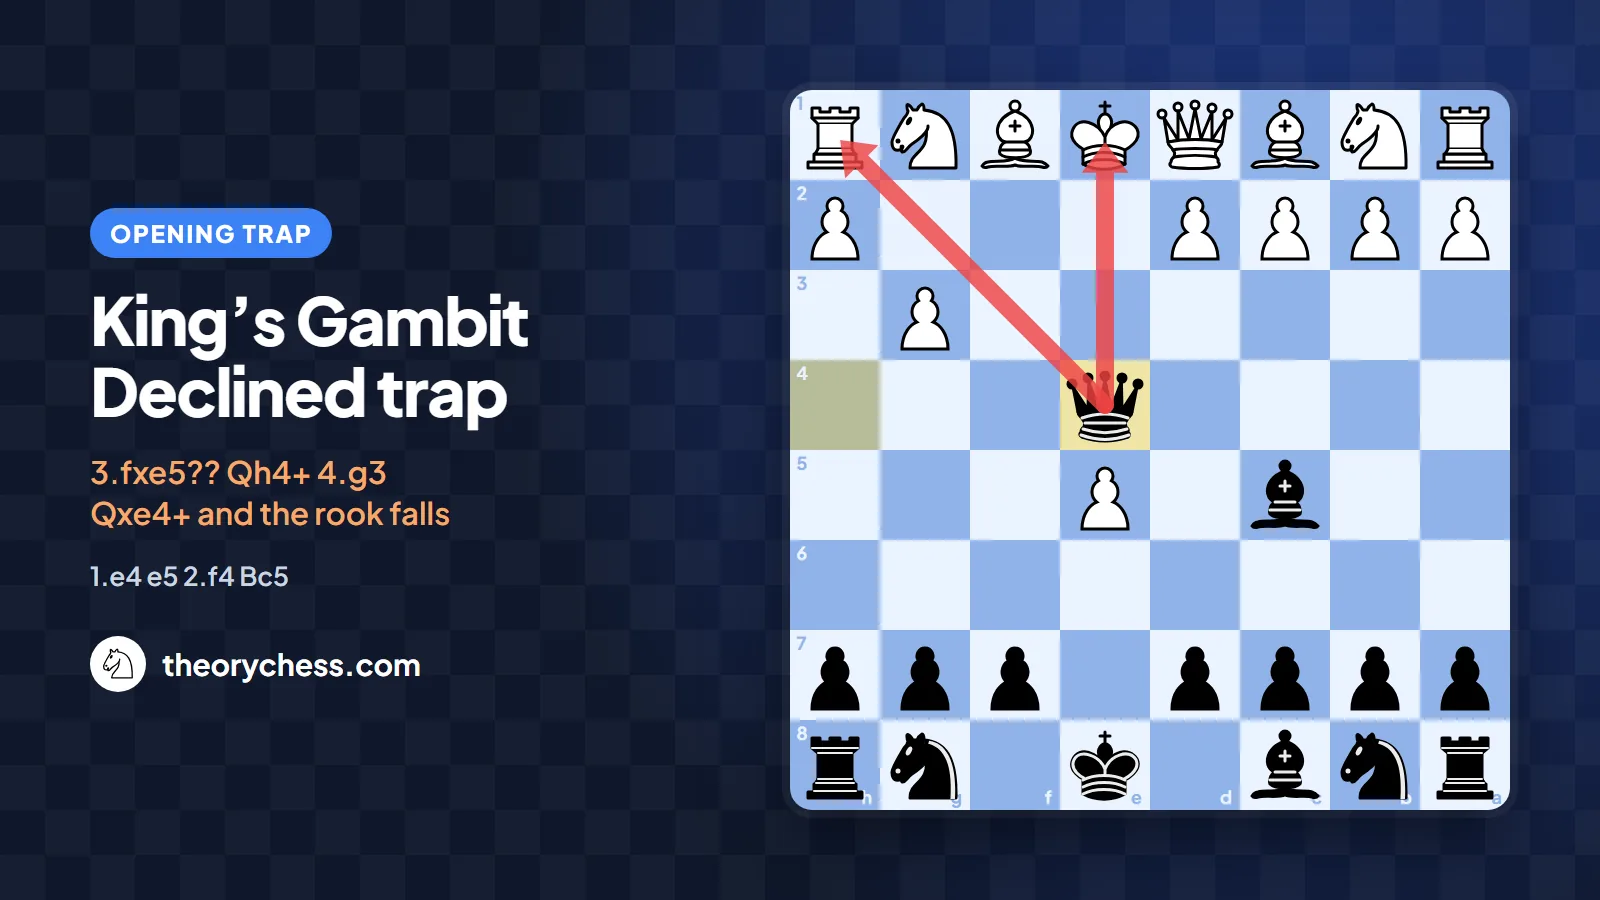
The King’s Gambit (1.e4 e5 2.f4) is one of the most romantic openings in chess: White gives up a pawn to open the f-file and attack fast. But nobody forces you to take it. The Classical King’s Gambit Declined, 2…Bc5, hides a very effective trap: if White grabs the e5-pawn, the rook on h1 goes. In this post we go through the trap move by move, explain why it works, and show how to avoid it with White.
What is the King’s Gambit Declined?
In the King’s Gambit, White pushes the f-pawn on move two to hit e5. If Black takes with 2…exf4, we are in the King’s Gambit Accepted. Black can also strike back with the Falkbeer Countergambit. 2…Bc5 is the third and calmest path: Black leaves the pawn alone and develops the bishop.
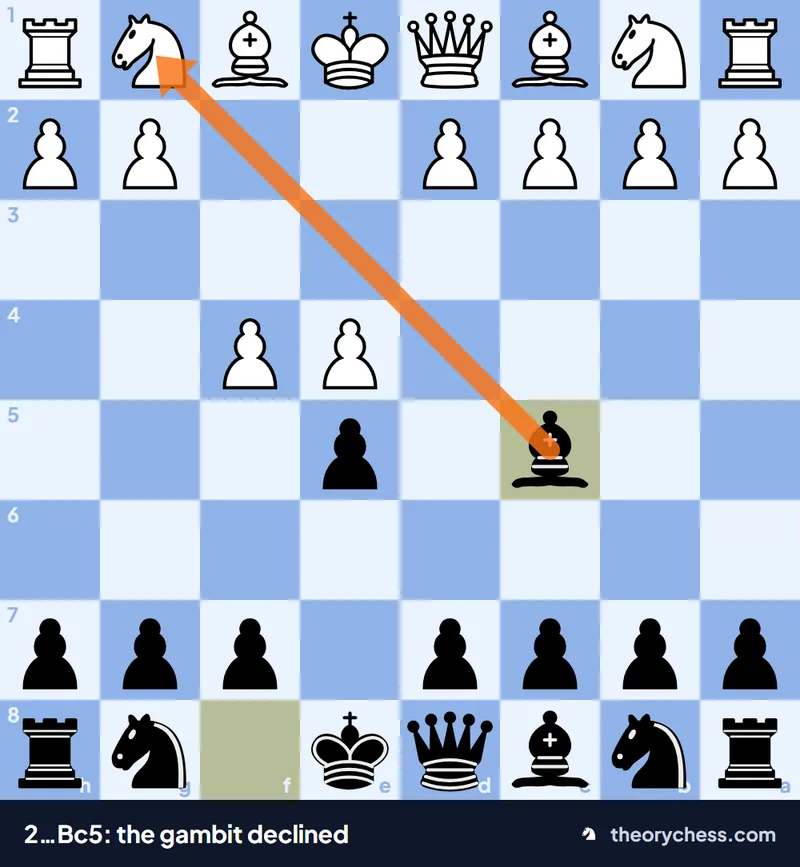
2…Bc5: the bishop takes the a7–g1 diagonal and controls g1.
The bishop has two jobs. First, by covering g1 it makes it hard for White to castle short, and with the f-pawn gone forward White’s king is already exposed. Second, it quietly defends e5. The pawn looks unprotected, but taking it is very expensive.
The trap move by move
3.fxe5??: a free pawn
White sees an undefended pawn and plays 3.fxe5??. At first glance it makes sense: White wins a pawn and opens the f-file. But with the f-pawn moving a second time, the e1–h4 diagonal is now wide open.
3…Qh4+!: check
Black replies 3…Qh4+! at once. White has two options: block with 4.g3 or move the king with 4.Ke2.
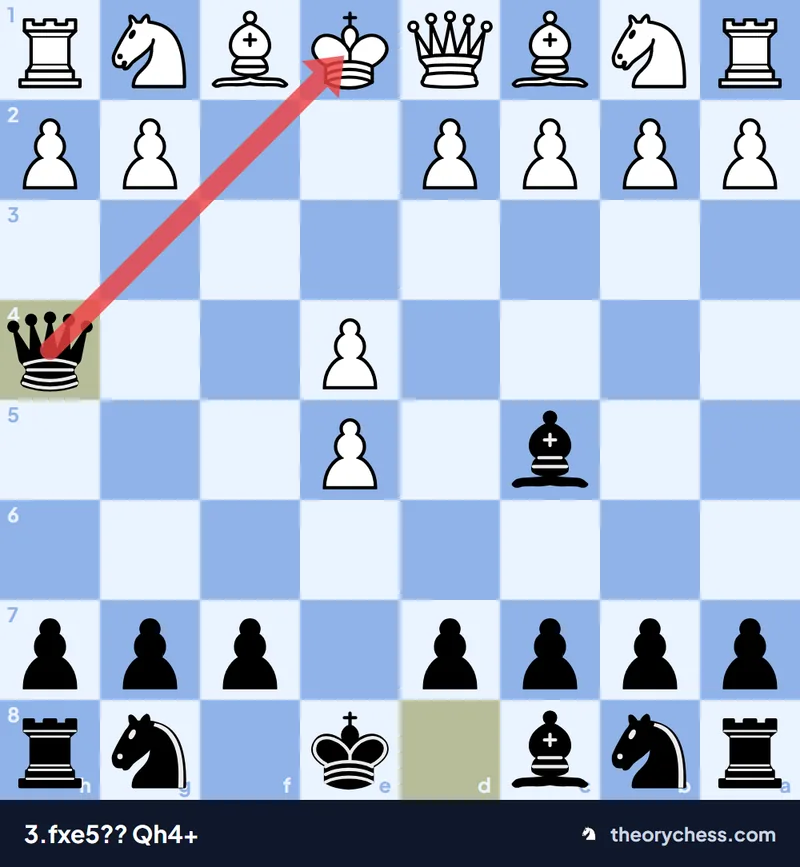
3…Qh4+: with the f-pawn gone, the e1–h4 diagonal is open.
4.Ke2?? loses on the spot to 4…Qxe4#. The queen checks from e4 and covers f3, d3 and e3, while the bishop on c5 covers f2. White has nothing that can take the queen or block.
4.g3 Qxe4+: the fork
White blocks with 4.g3, but now 4…Qxe4+! comes. From e4 the queen attacks two pieces at once: it checks the king on e1 and hits the rook on h1. A classic fork.
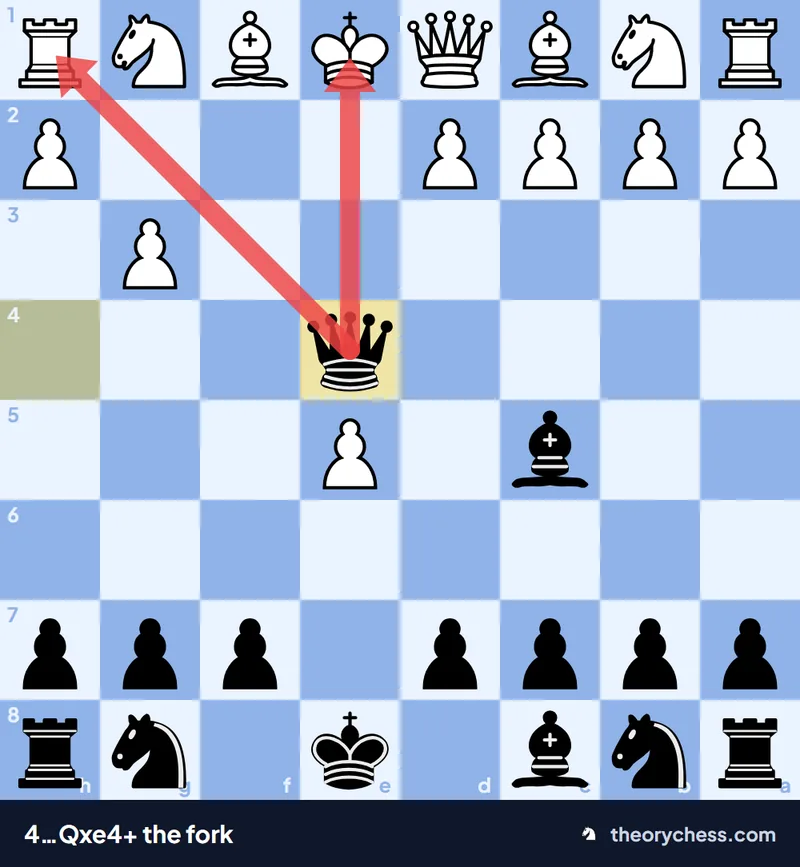
4…Qxe4+: king and rook under attack at the same time.
White has to deal with the check, for example with 5.Qe2, and after 5…Qxh1 the rook is gone. Black is close to a full rook up and Stockfish sees a clearly winning position. The only thing Black has to watch is bringing the cornered queen back into play in time.
The full sequence: 1.e4 e5 2.f4 Bc5 3.fxe5 Qh4+ 4.g3 Qxe4+ 5.Qe2 Qxh1.
Why does it work?
- The f-pawn has moved twice. After 2.f4 and 3.fxe5 nothing guards the white king on the e1–h4 diagonal.
- The bishop on c5 covers f2 and g1. When the king wants to run, those squares are closed. That is why 4.Ke2 is mate.
- The e4-pawn is loose. Without d2–d3 or Nc3, nothing protects e4. The queen lands there with check and eyes h1.
What should White play?
The right move is 3.Nf3!. The knight attacks e5 and, above all, covers h4. There is no …Qh4+ any more, and White now really threatens e5. Black usually defends with 3…d6, and White prepares d4 with 4.c3. That is the main line of the King’s Gambit Declined, with a normal game for both sides.
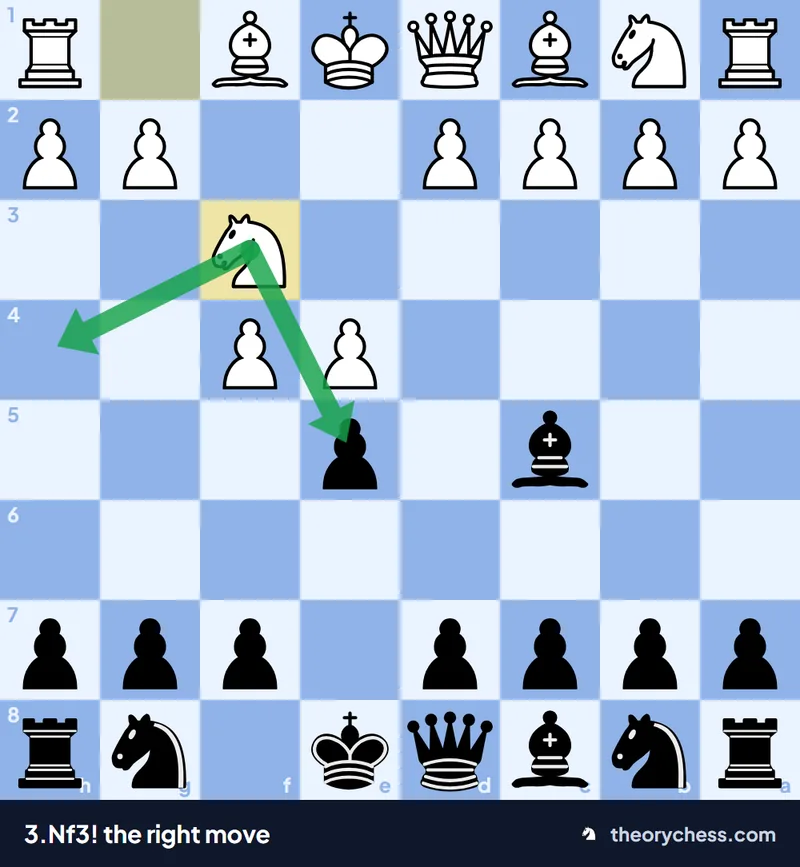
3.Nf3!: h4 is covered and e5 is under real attack.
The general rule: once your f-pawn has gone forward in the King’s Gambit, don’t move it again before the e1–h4 diagonal is closed. Most of the time the easiest way to close it is Nf3.
Key moments at a glance
| Move | What happens | Lesson |
|---|---|---|
| 2…Bc5 | Black declines; the bishop eyes g1. | You don’t have to accept every gambit. |
| 3.fxe5?? | White grabs the pawn and opens the diagonal. | A free pawn can cost more than king safety. |
| 3…Qh4+ | The queen checks down the open diagonal. | An open king side is the first target. |
| 4.Ke2?? Qxe4# | Moving the king gets mated. | Count the squares the bishop controls. |
| 4.g3 Qxe4+ | A fork of king and rook. | Loose pieces are fork targets. |
| 3.Nf3! | h4 is covered; normal game. | Develop first, grab pawns later. |
What this trap teaches
The King’s Gambit Declined trap shows the tactical price behind a pawn that looks free. Before you take, ask which lines the capture opens and which diagonal your king is left on. For Black the lesson is that declining a gambit doesn’t mean being passive: a natural developing move like 2…Bc5 can set a dangerous trap. For a similar queen raid on an exposed king, see the Englund Gambit trap, and for more classics read opening traps every club player should know. This week’s other trap is the Tennison Gambit trap.
Frequently asked questions
Is the King’s Gambit Declined a good defence?
Yes. The Classical King’s Gambit Declined with 2…Bc5 is solid and fully playable. Black develops naturally without diving into sharp gambit theory and makes White’s short castling awkward.
How much is Black ahead after 3.fxe5?
After 3…Qh4+ 4.g3 Qxe4+ 5.Qe2 Qxh1, Black has won a rook for a single pawn. Stockfish rates the position as winning for Black.
What if White plays 4.Ke2?
4…Qxe4# is mate. That is why after 3…Qh4+ White’s only real try is 4.g3, which still loses the rook.
How do I set this trap as Black?
After 1.e4 e5 2.f4, play 2…Bc5 and don’t rush to defend e5. If White takes with 3.fxe5, punish it with 3…Qh4+. If White plays 3.Nf3, continue with 3…d6 and the normal main line.
Practise it on TheoryChess
Reading a trap and spotting it over the board are two different things. On TheoryChess you can play every line of the King’s Gambit trainer against Stockfish, with an explanation for every theory move, then test yourself with the King’s Gambit quiz. All the variations are on the King’s Gambit page, and every other opening is waiting in the opening catalogue.
Keep reading
· 5 min read
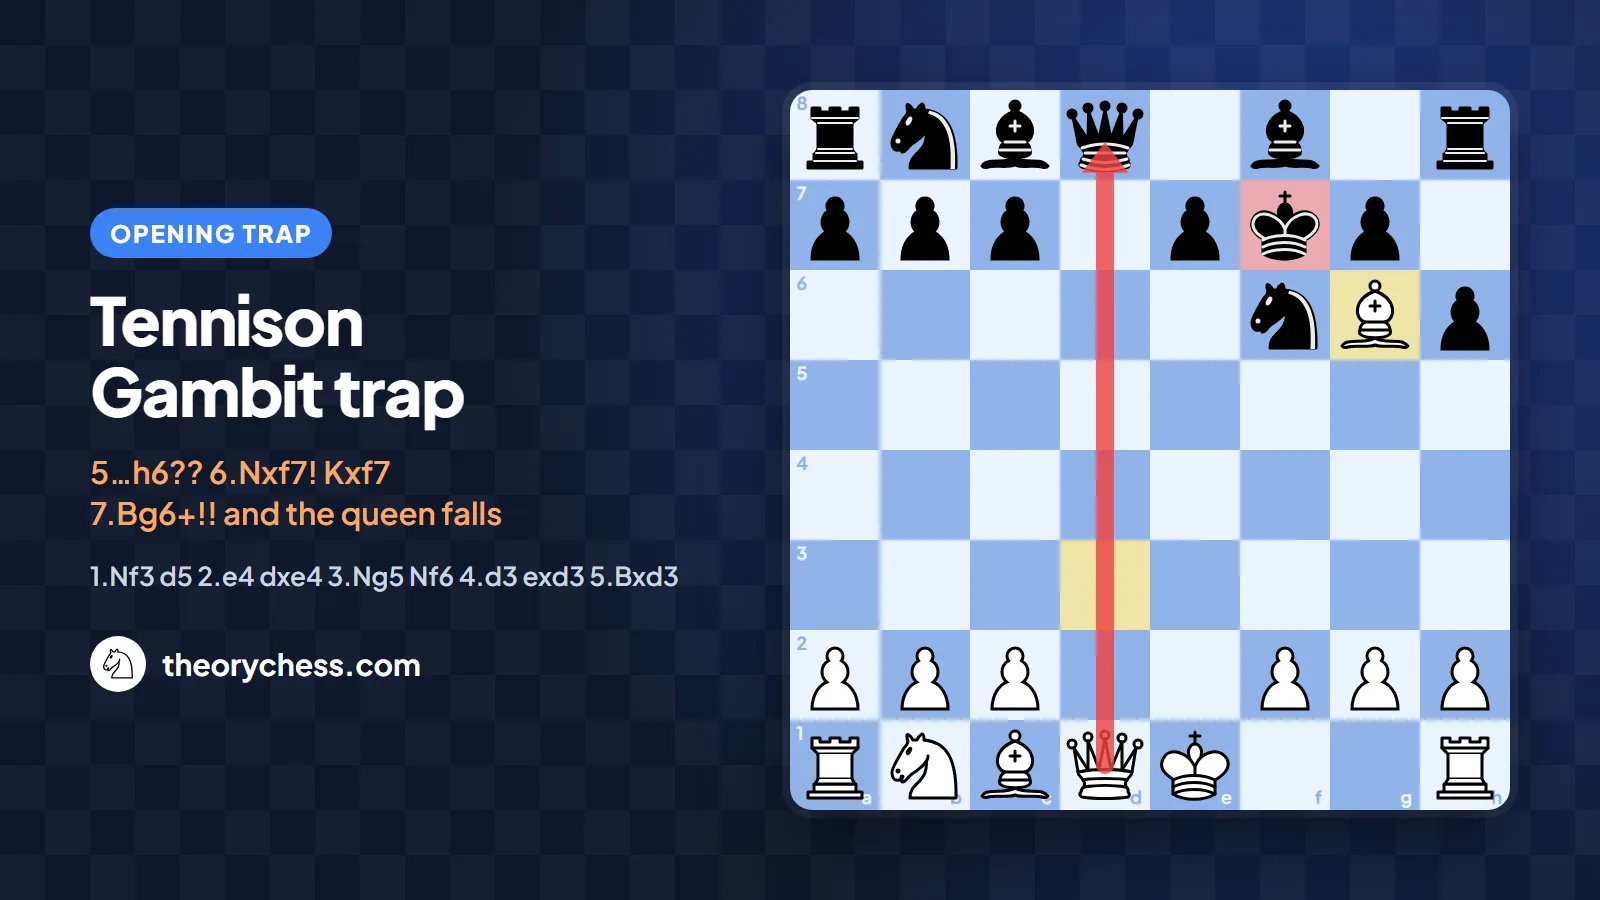
The Tennison Gambit trap: play …h6?? and lose your queenIn the Tennison Gambit (1.Nf3 d5 2.e4) Black’s natural-looking 5…h6?? loses the queen: 6.Nxf7! Kxf7 7.Bg6+!! gives check, opens the d-file and 8.Qxd8 follows. The trap, why it works and the right defence.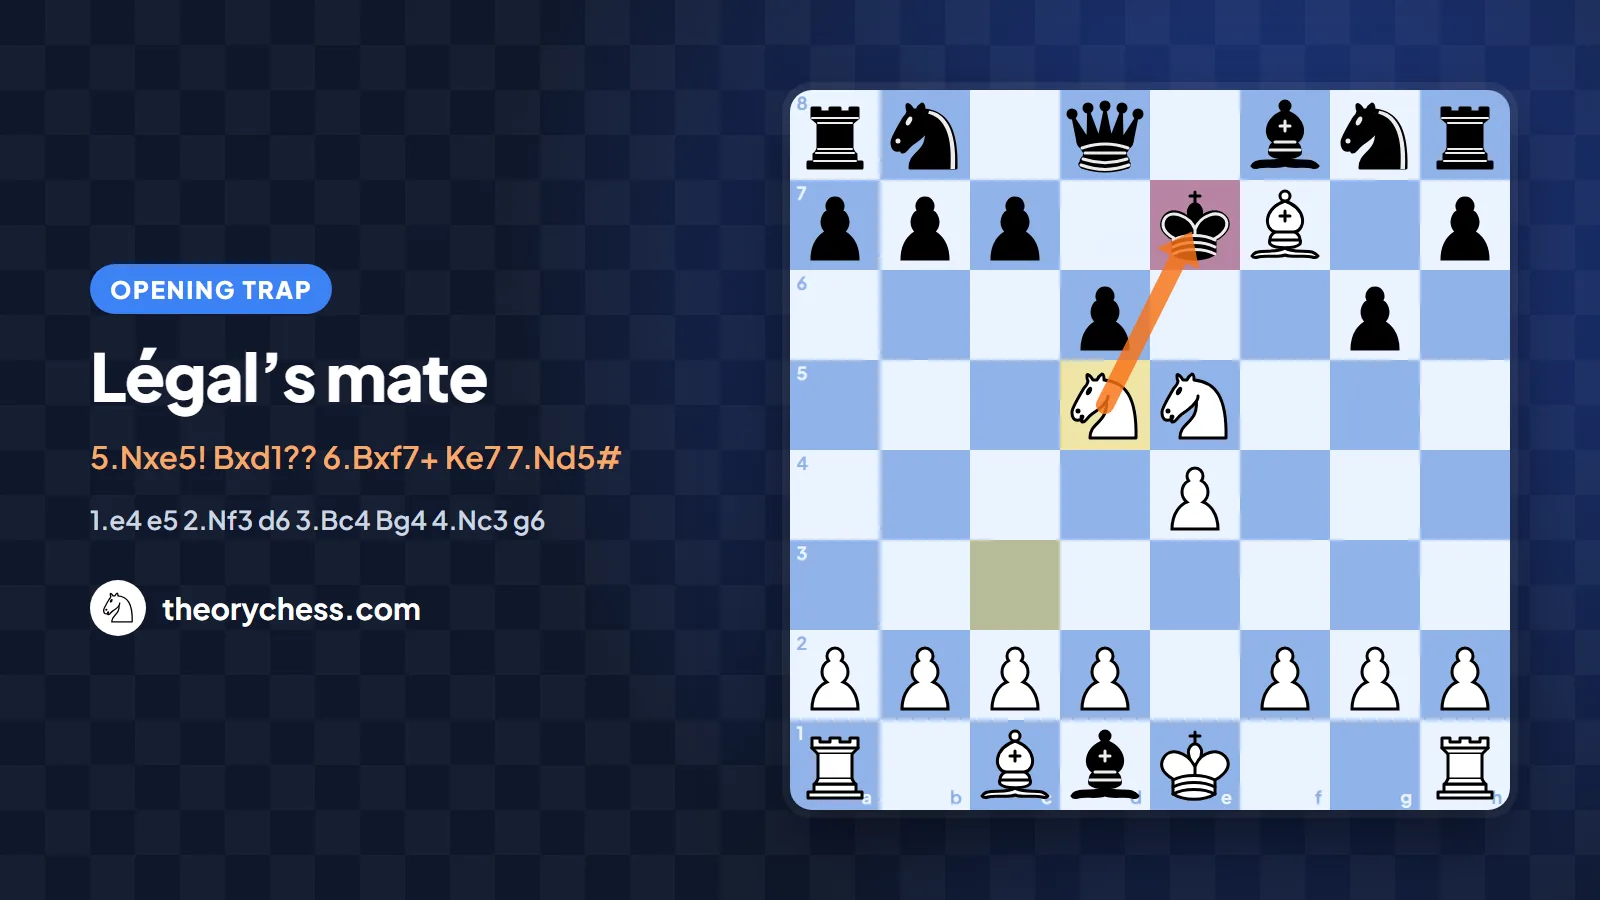
· 5 min read
Légal’s mate: give up the queen and mate in 7 with three minor piecesLégal’s mate is one of the oldest opening traps in chess: White ignores the pin and leaves the queen hanging, and if Black takes it, 6.Bxf7+ Ke7 7.Nd5# is mate. The trap, why it works and the right defence.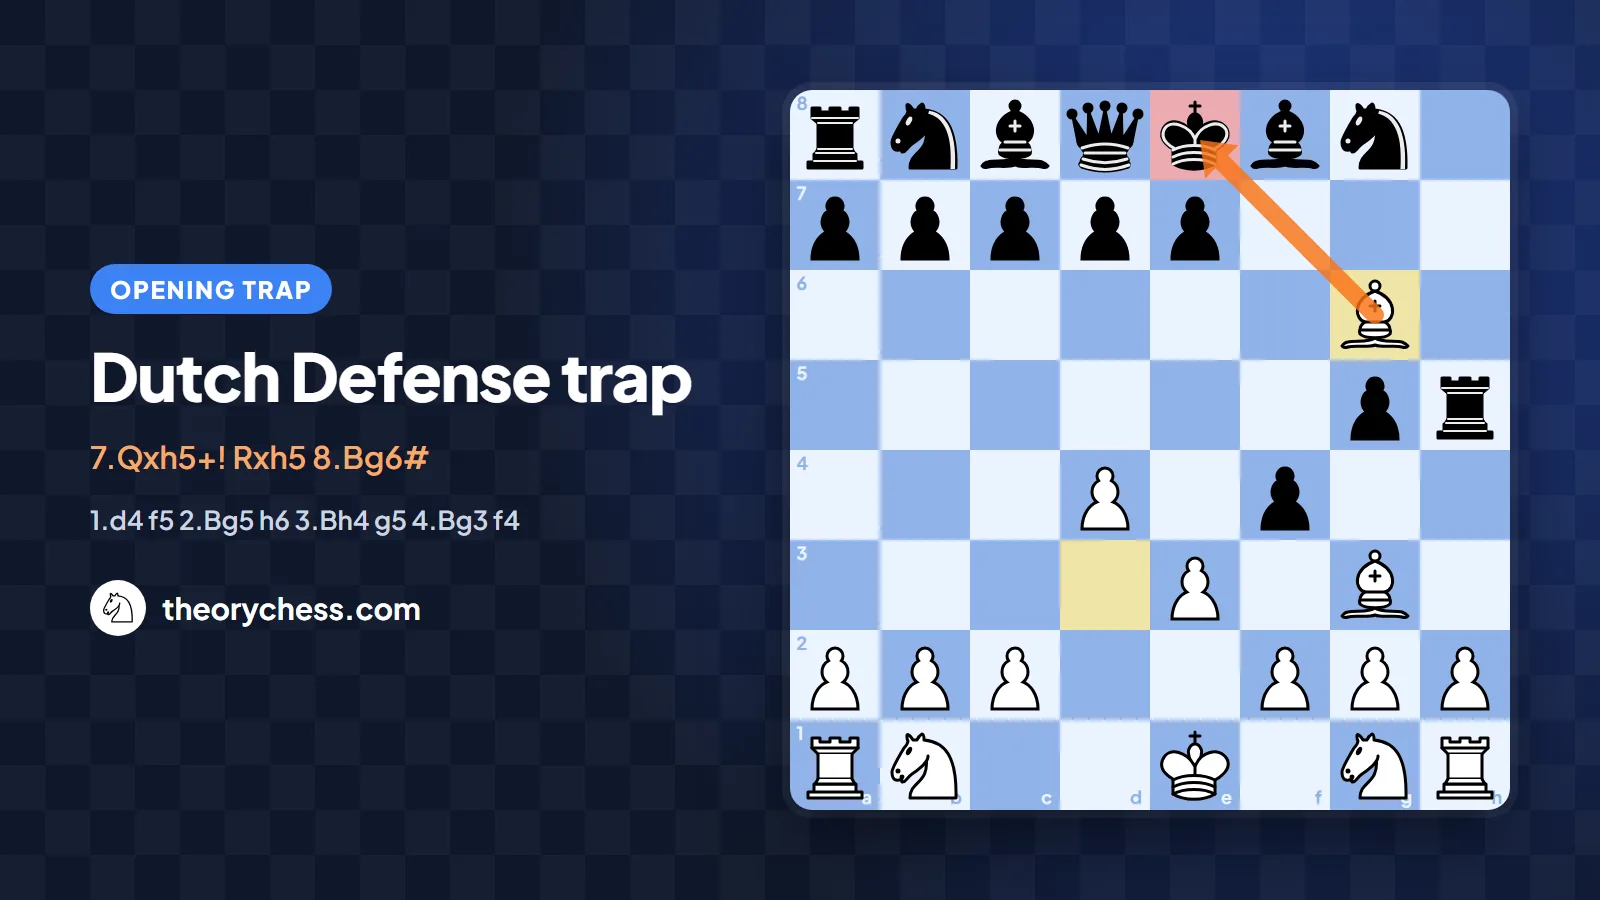
· 5 min read
The Dutch Defense trap: a queen sacrifice and Bg6# in 8 movesIn the Dutch Defense, chasing White’s bishop after 2.Bg5 ends in a queen sacrifice and mate in eight: 6…Rh6?? 7.Qxh5+! Rxh5 8.Bg6#. The trap, why it works and the right defence.