
The Fried Liver Attack: sacrifice the knight, drag the king out
In the Two Knights Defense, 5…Nxd5? runs into 6.Nxf7! Kxf7 7.Qf3+ Ke6 8.Nc3, with Black’s king stuck in the center. The attack move by move, Black’s best defence and the right reply, 5…Na5!
5 min readBy Hasan Süzen
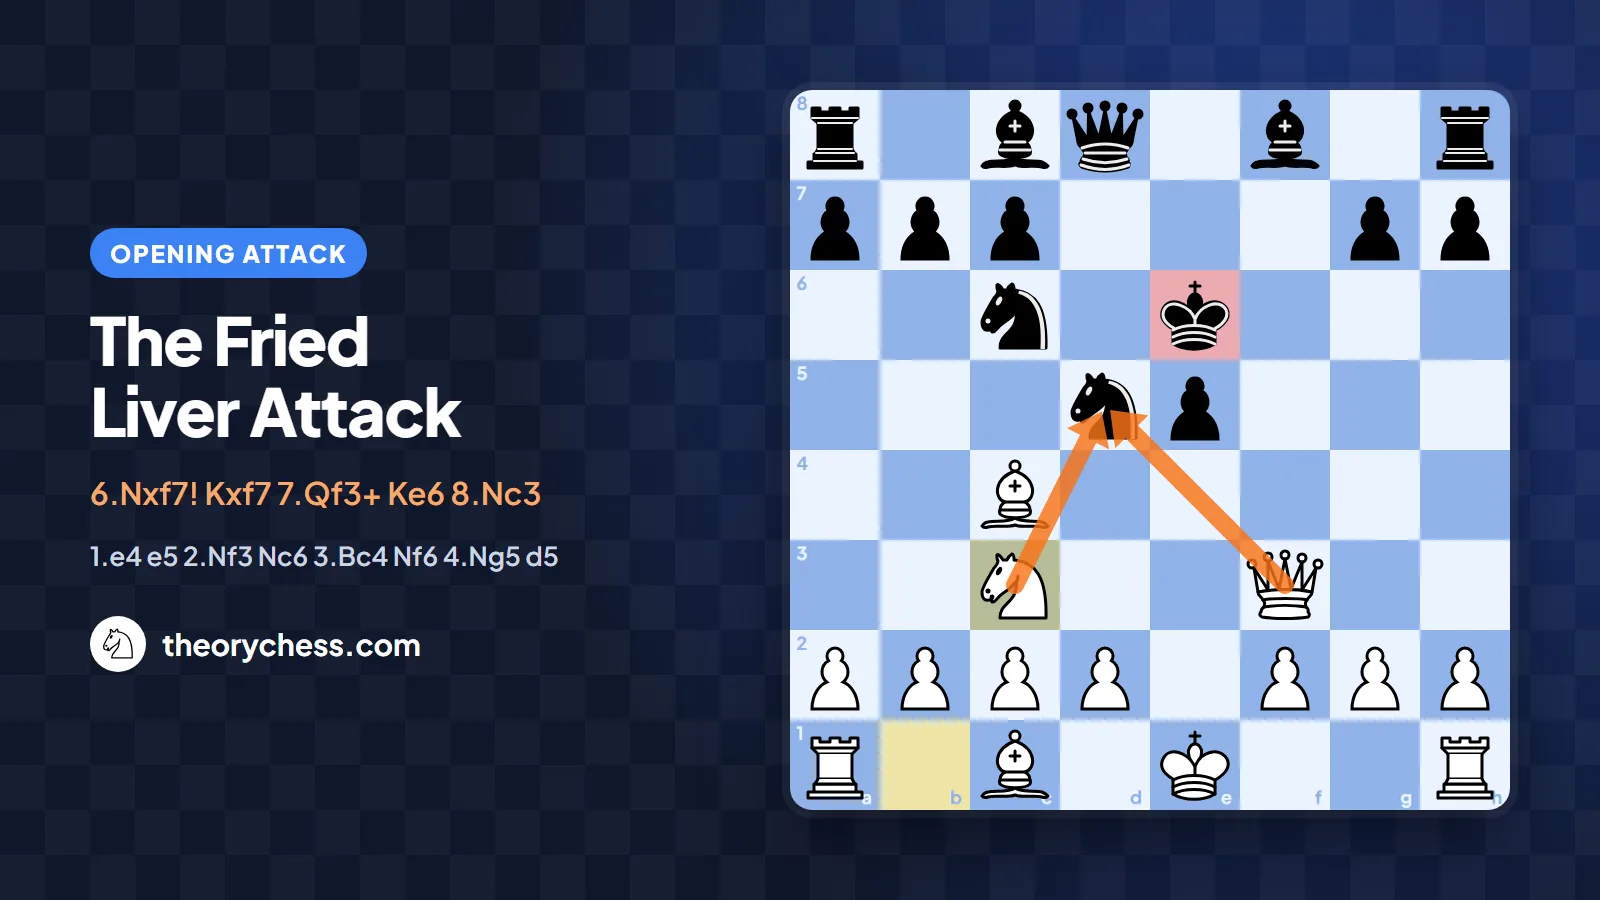
The Fried Liver Attack is one of the most famous opening attacks in chess history. On move six White sacrifices a knight on f7 and drags Black’s king to e6, right into the middle of the board. White is a piece down, but with the king that exposed, every move suddenly matters. In this article we go through the attack move by move, look honestly at what the sacrifice is worth and show what Black should play to avoid it altogether.
Where does the Fried Liver come from?
The attack grows out of the Two Knights Defense: 1.e4 e5 2.Nf3 Nc6 3.Bc4 Nf6. Black counterattacks e4 but leaves f7 a little lonely, and White pounces straight away with 4.Ng5: now both the knight and the bishop on c4 are aimed at f7. For the wider ideas behind these positions, see our practical guide to the Italian Game.
The name comes from the Italian fegatello, roughly “little liver”, which became “Fried Liver” in English. The oldest known examples go back to the early 1600s and the Italian player Giulio Cesare Polerio.
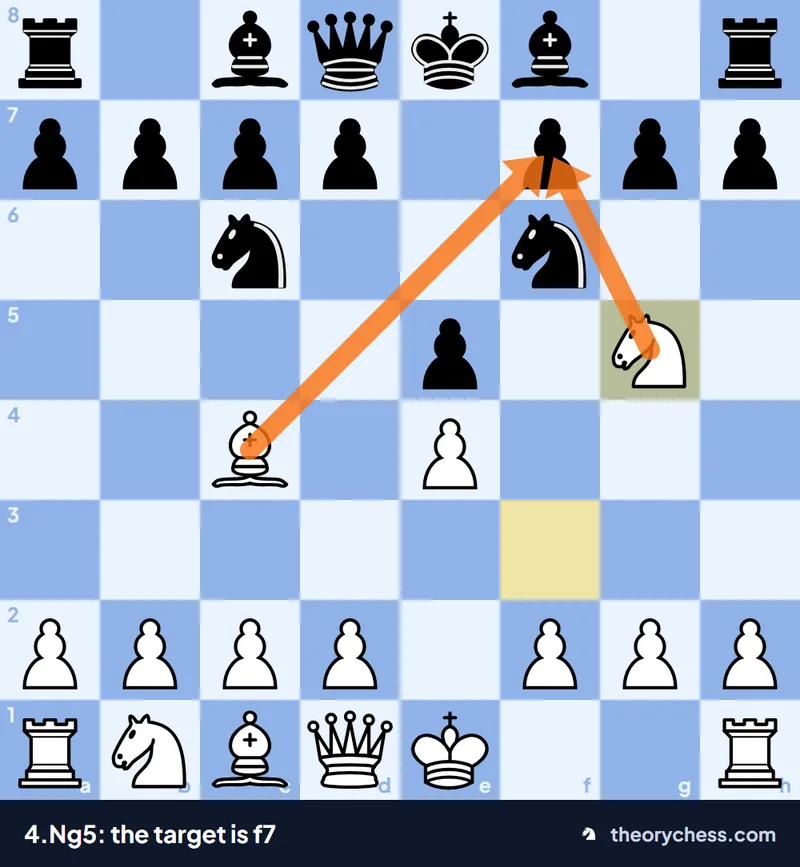
4.Ng5: knight and bishop team up against f7.
The attack move by move
4…d5 5.exd5 Nxd5?: the natural recapture
Black’s best reply is 4…d5, cutting the bishop’s diagonal to f7. After 5.exd5 most players take back without a second thought: 5…Nxd5? It looks completely natural and restores material equality. But now f7 is in danger again.
6.Nxf7!: the knight sacrifice
6.Nxf7! takes the pawn and forks the queen on d8 and the rook on h8. Black’s only serious reply is 6…Kxf7; the alternatives (6…Qf6 or 6…Qh4) give White a winning advantage according to Stockfish.
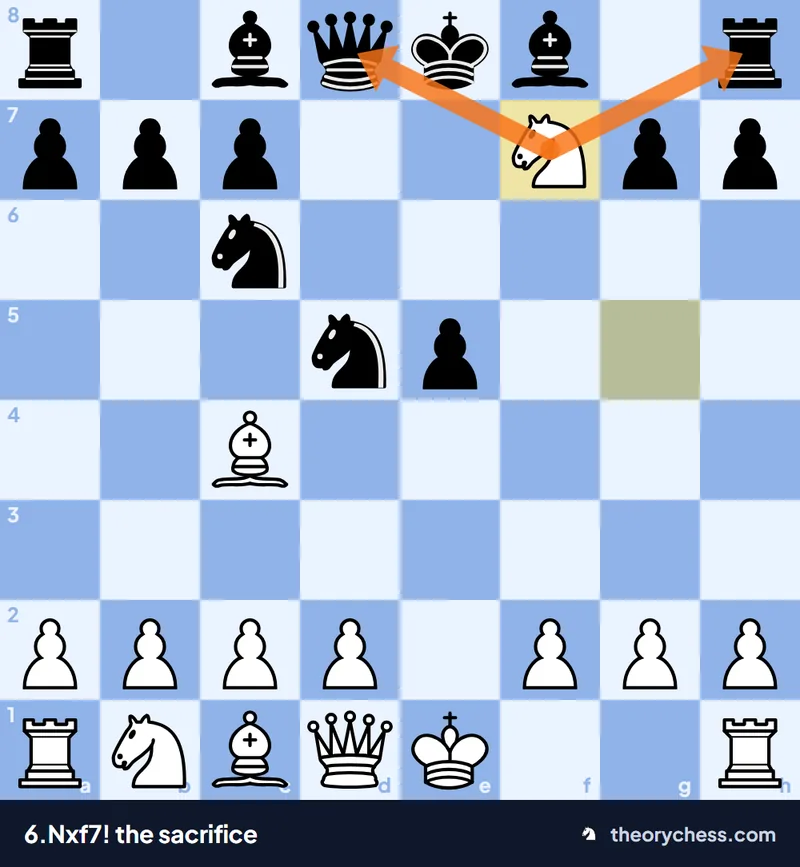
6.Nxf7!: the knight forks queen and rook.
7.Qf3+ Ke6 8.Nc3: the king in the center
7.Qf3+ gives check and hits the knight on d5 at the same time. To keep the knight, the king has to step forward: 7…Ke6. Retreating with 7…Ke8 gives the piece back after 8.Bxd5, and White is clearly better.
8.Nc3 brings a third piece to bear on d5. On top of that, the d5-knight is pinned by the bishop on c4, because the king stands right behind it on e6. Bishop, queen and knight all hit the same square while Black’s king sits in the middle of the board.
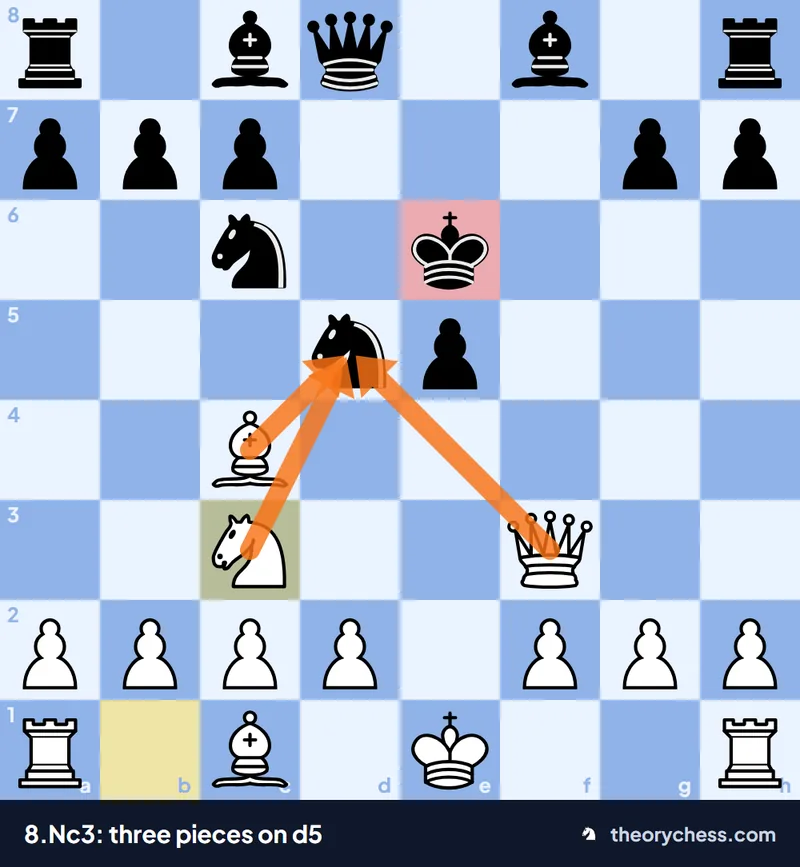
8.Nc3: three pieces on d5, the king in the center.
The whole sequence: 1.e4 e5 2.Nf3 Nc6 3.Bc4 Nf6 4.Ng5 d5 5.exd5 Nxd5 6.Nxf7 Kxf7 7.Qf3+ Ke6 8.Nc3.
Does the sacrifice win by force?
The honest answer is no. Stockfish’s toughest defence is 8…Nb4, and even then White is about a pawn better despite being a knight down. Black is ahead on material, but with the king stuck in the center there is often only one correct move at a time. That is very hard to find in a fast game, and moves such as 8…Ne7 or 8…Nd4? quickly make White’s advantage bigger.
White also has 6.d4 (the Lolli Attack), which opens the center before any sacrifice and rates about the same as 6.Nxf7 on the engine.
What should Black play?
The right idea is not to take back at once: 5…Na5! (the Polerio Defense). The knight hits the bishop on c4 and White has to spend time keeping it. After 6.Bb5+ c6 7.dxc6 bxc6 Black is a pawn down but ahead in development, and Stockfish calls the position level.
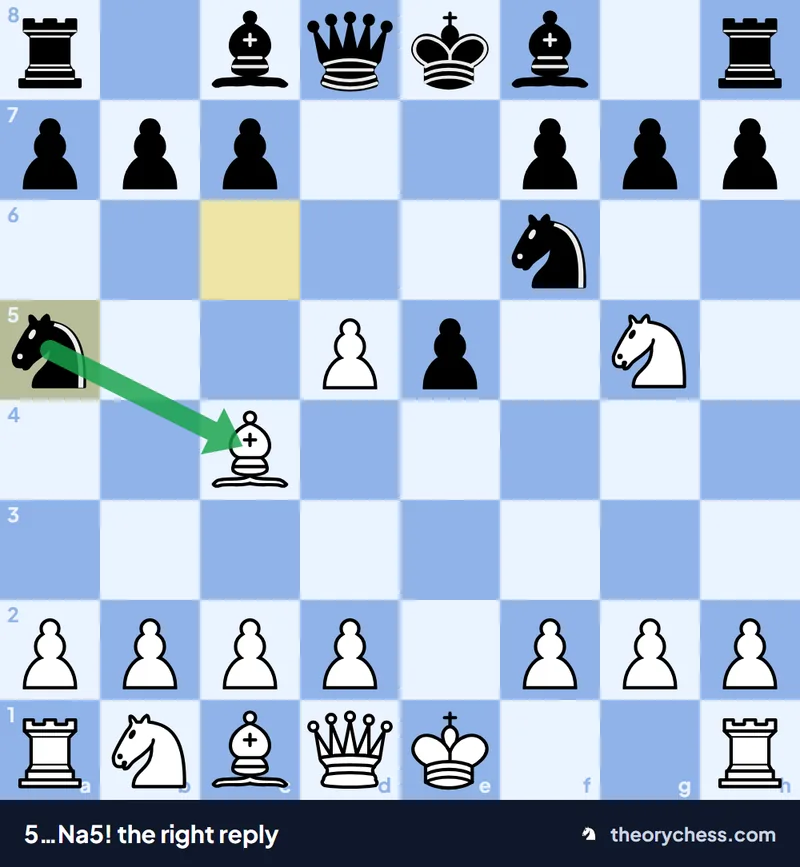
5…Na5!: the knight kicks the bishop and the pressure on f7 fades.
A sharper way to meet 4.Ng5 is 4…Bc5 (the Traxler). Black lets White take on f7 and counterattacks, but the engine rates this line as risky. For most players, 4…d5 and 5…Na5 are the more reliable choice.
Key moments at a glance
| Move | What happens | Lesson |
|---|---|---|
| 4.Ng5 | Knight and bishop pile on f7. | f7 is the weakest square in the opening. |
| 5…Nxd5? | The knight centralizes, but f7 is still a problem. | Winning material back isn’t always the priority. |
| 6.Nxf7! | The knight is sacrificed, forking queen and rook. | Exposing the king can be worth a piece. |
| 7…Ke6 | The king steps up to guard d5. | An extra piece can cost you your king’s safety. |
| 8.Nc3 | Three pieces attack d5. | Pile up on pinned pieces. |
| 5…Na5! | The right defence keeps the balance. | Deal with the threat first. |
What this attack teaches
The lesson of the Fried Liver is that material isn’t everything. Black is a knight up, but the pieces are undeveloped and the king is in the center, while all of White’s pieces point at the same spot. In the opening, development and king safety can be worth more than a piece in the short term.
For Black, the real warning comes at 5…Nxd5: natural recaptures are the mistakes we overlook most. Asking “who is looking at f7?” before taking back stops the whole attack.
Frequently asked questions
Does the Fried Liver Attack win?
Not by force against the right defence, but White stays better and Black is very likely to go wrong. That makes it especially dangerous in blitz and rapid.
How do I avoid it as Black?
After 4.Ng5 d5 5.exd5, play 5…Na5 instead of 5…Nxd5. You can also sidestep it earlier by choosing 3…Bc5 and the Italian Game rather than 3…Nf6.
Is there anything other than 6…Kxf7?
There is, but it’s all worse. The knight is forking queen and rook, so leaving it alone costs Black dearly.
Where does the name come from?
From the Italian word fegatello. Sources explain the exact image differently, but they agree it refers to liver as a dish.
Practise it on TheoryChess
Reading a sharp attack and playing it over the board are very different things. On TheoryChess you can play every line of the Two Knights Defense trainer against Stockfish, then test yourself with the quiz. For more classics aimed at f7, read about the Blackburne Shilling trap and Légal’s mate, and for a wider list see opening traps every club player should know. Every opening is waiting in the opening catalogue.
Keep reading
· 5 min read
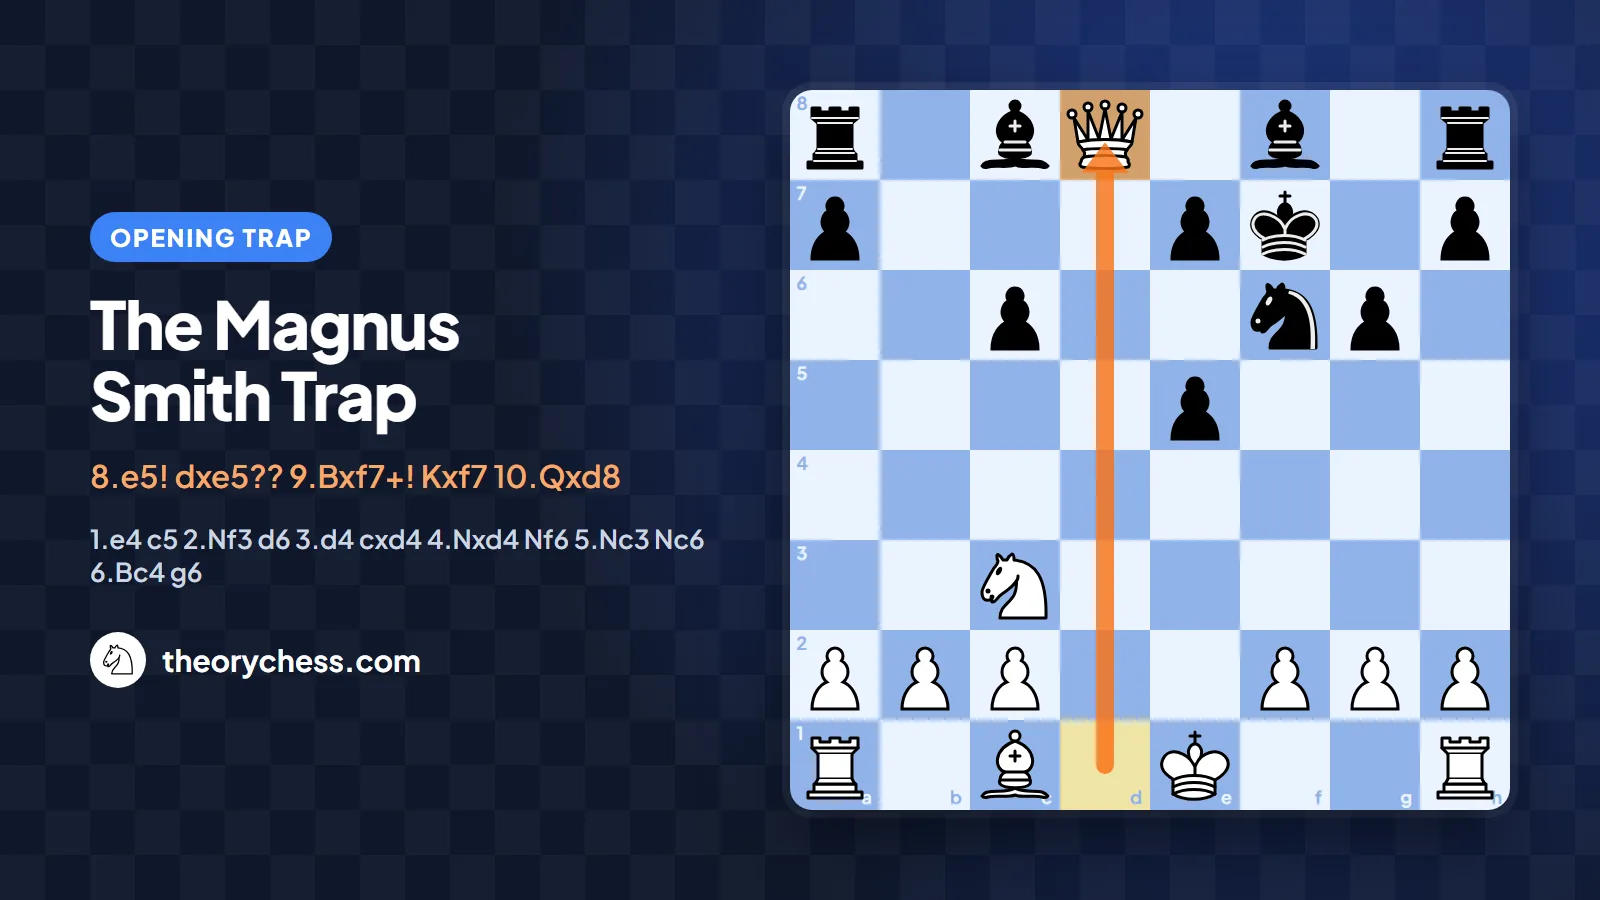
The Magnus Smith Trap: give up a bishop, win the queen in the SicilianIn the Sozin Sicilian, 6…g6 7.Nxc6 bxc6 8.e5! dxe5?? loses the queen to 9.Bxf7+! Kxf7 10.Qxd8. The trap, why it works and the right reply, 8…Ng4!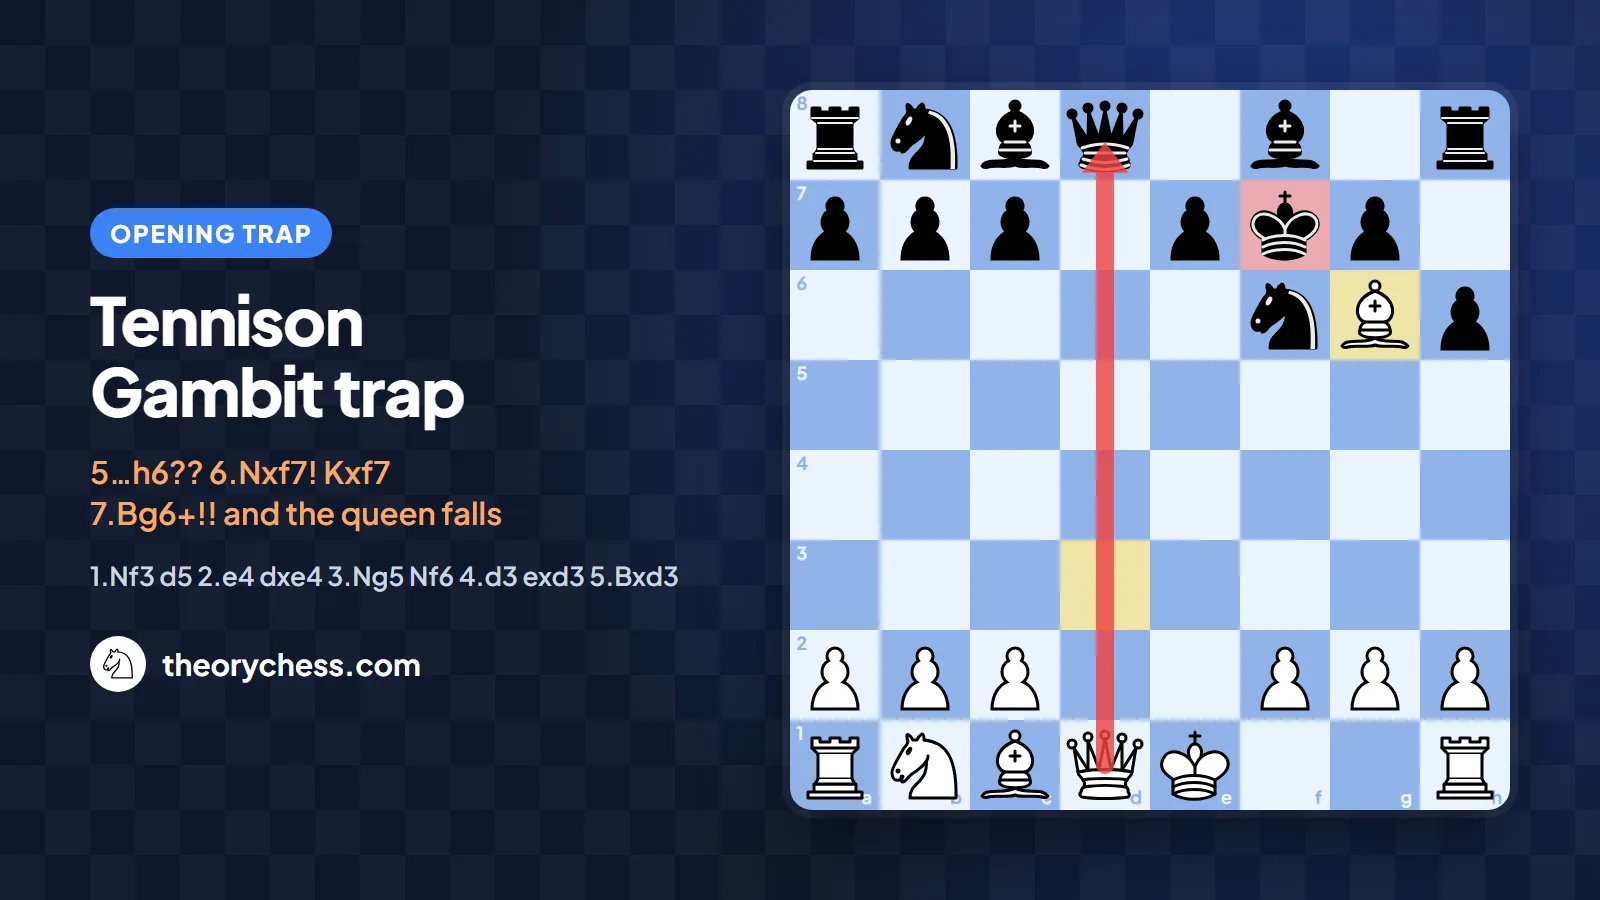
· 5 min read
The Tennison Gambit trap: play …h6?? and lose your queenIn the Tennison Gambit (1.Nf3 d5 2.e4) Black’s natural-looking 5…h6?? loses the queen: 6.Nxf7! Kxf7 7.Bg6+!! gives check, opens the d-file and 8.Qxd8 follows. The trap, why it works and the right defence.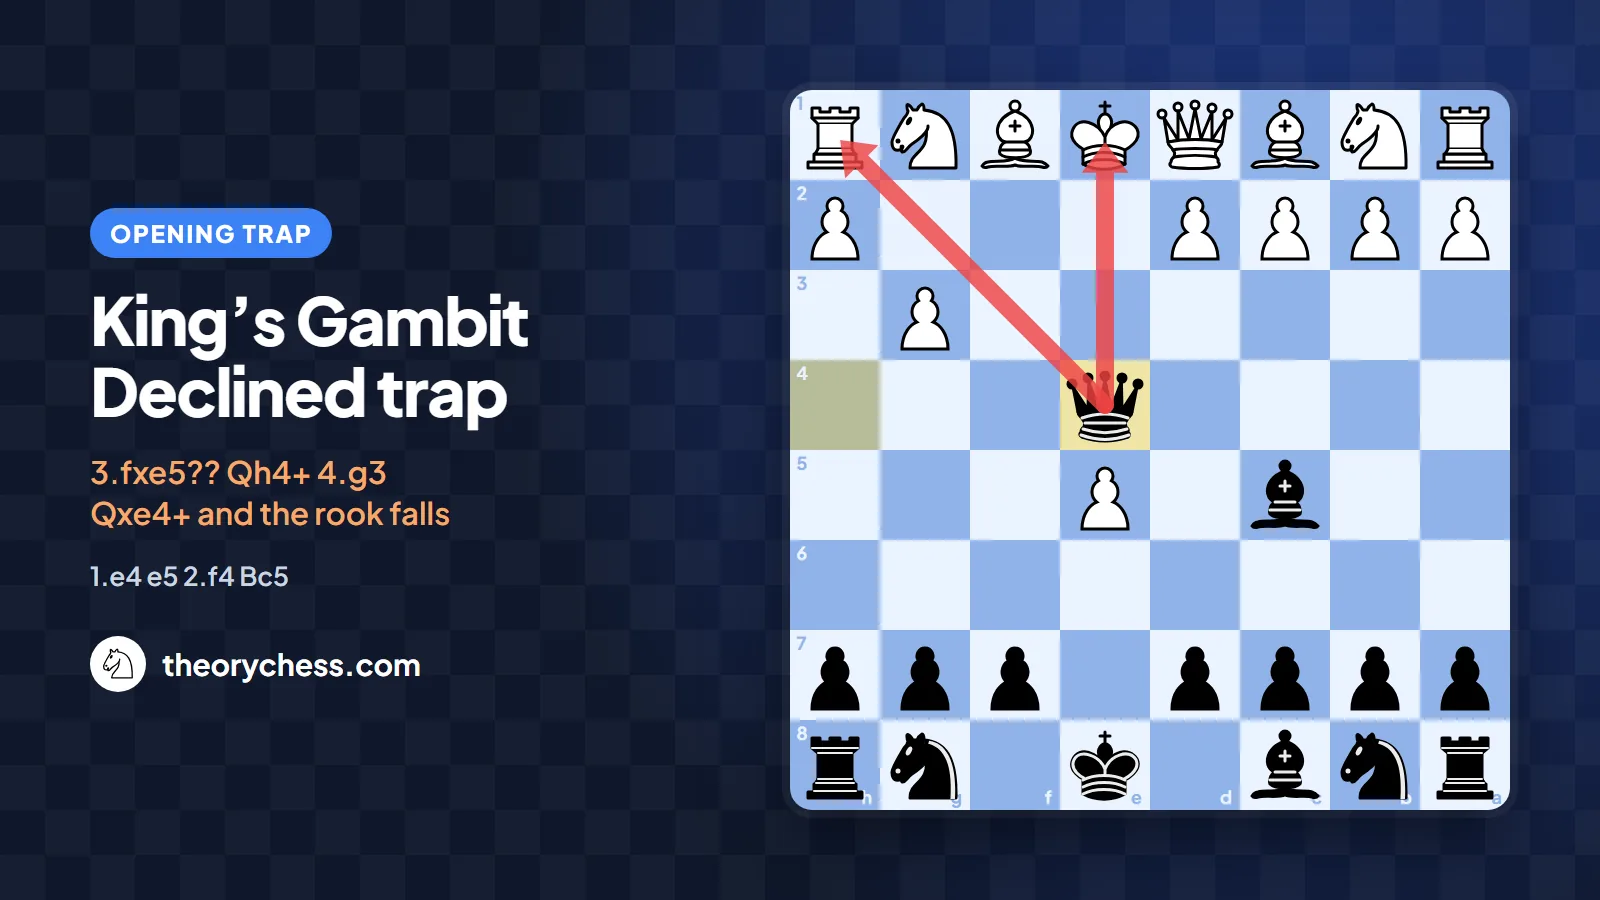
· 5 min read
The King’s Gambit Declined trap: take this pawn and lose your rookDeclining the King’s Gambit with 2…Bc5 sets a nasty trap: if White plays 3.fxe5??, then 3…Qh4+ 4.g3 Qxe4+ wins the rook on h1, and 4.Ke2 runs into 4…Qxe4# mate. The trap, why it works and the right move.